Welcome back for another weekly update, backers and fans! We have an awesome environment art update for you this week, but let's start with our Slacker Backer totals:
Slacker Backer Funds
- Fig Slacker Backers - $112,200
- Backer Portal - $143,900
This brings our Slacker Backer total to $256,100 and our grand total to $4.66M. We have one more week to try and reach our $4.75M stretch goal. We believe in you! Spread the word and help us out one last time.
Remember to confirm your pledge on the Backer Portal if you haven't already. We need this information linked so we can send you your rewards! You can read through our instructions for confirming your pledge in Update #25.
The Environments of Pillars II
In the Pillars of Eternity series, we make sure our environments look beautiful. Our area designers and environment artists work hard to ensure every last detail is placed correctly, from rugs and thrones all the way down to tiny bowls of fruit. However, the environments aren't just something nice to look at; each area plays an important role in revealing the storyline and teaching you more about cultures of the people who live in these places.

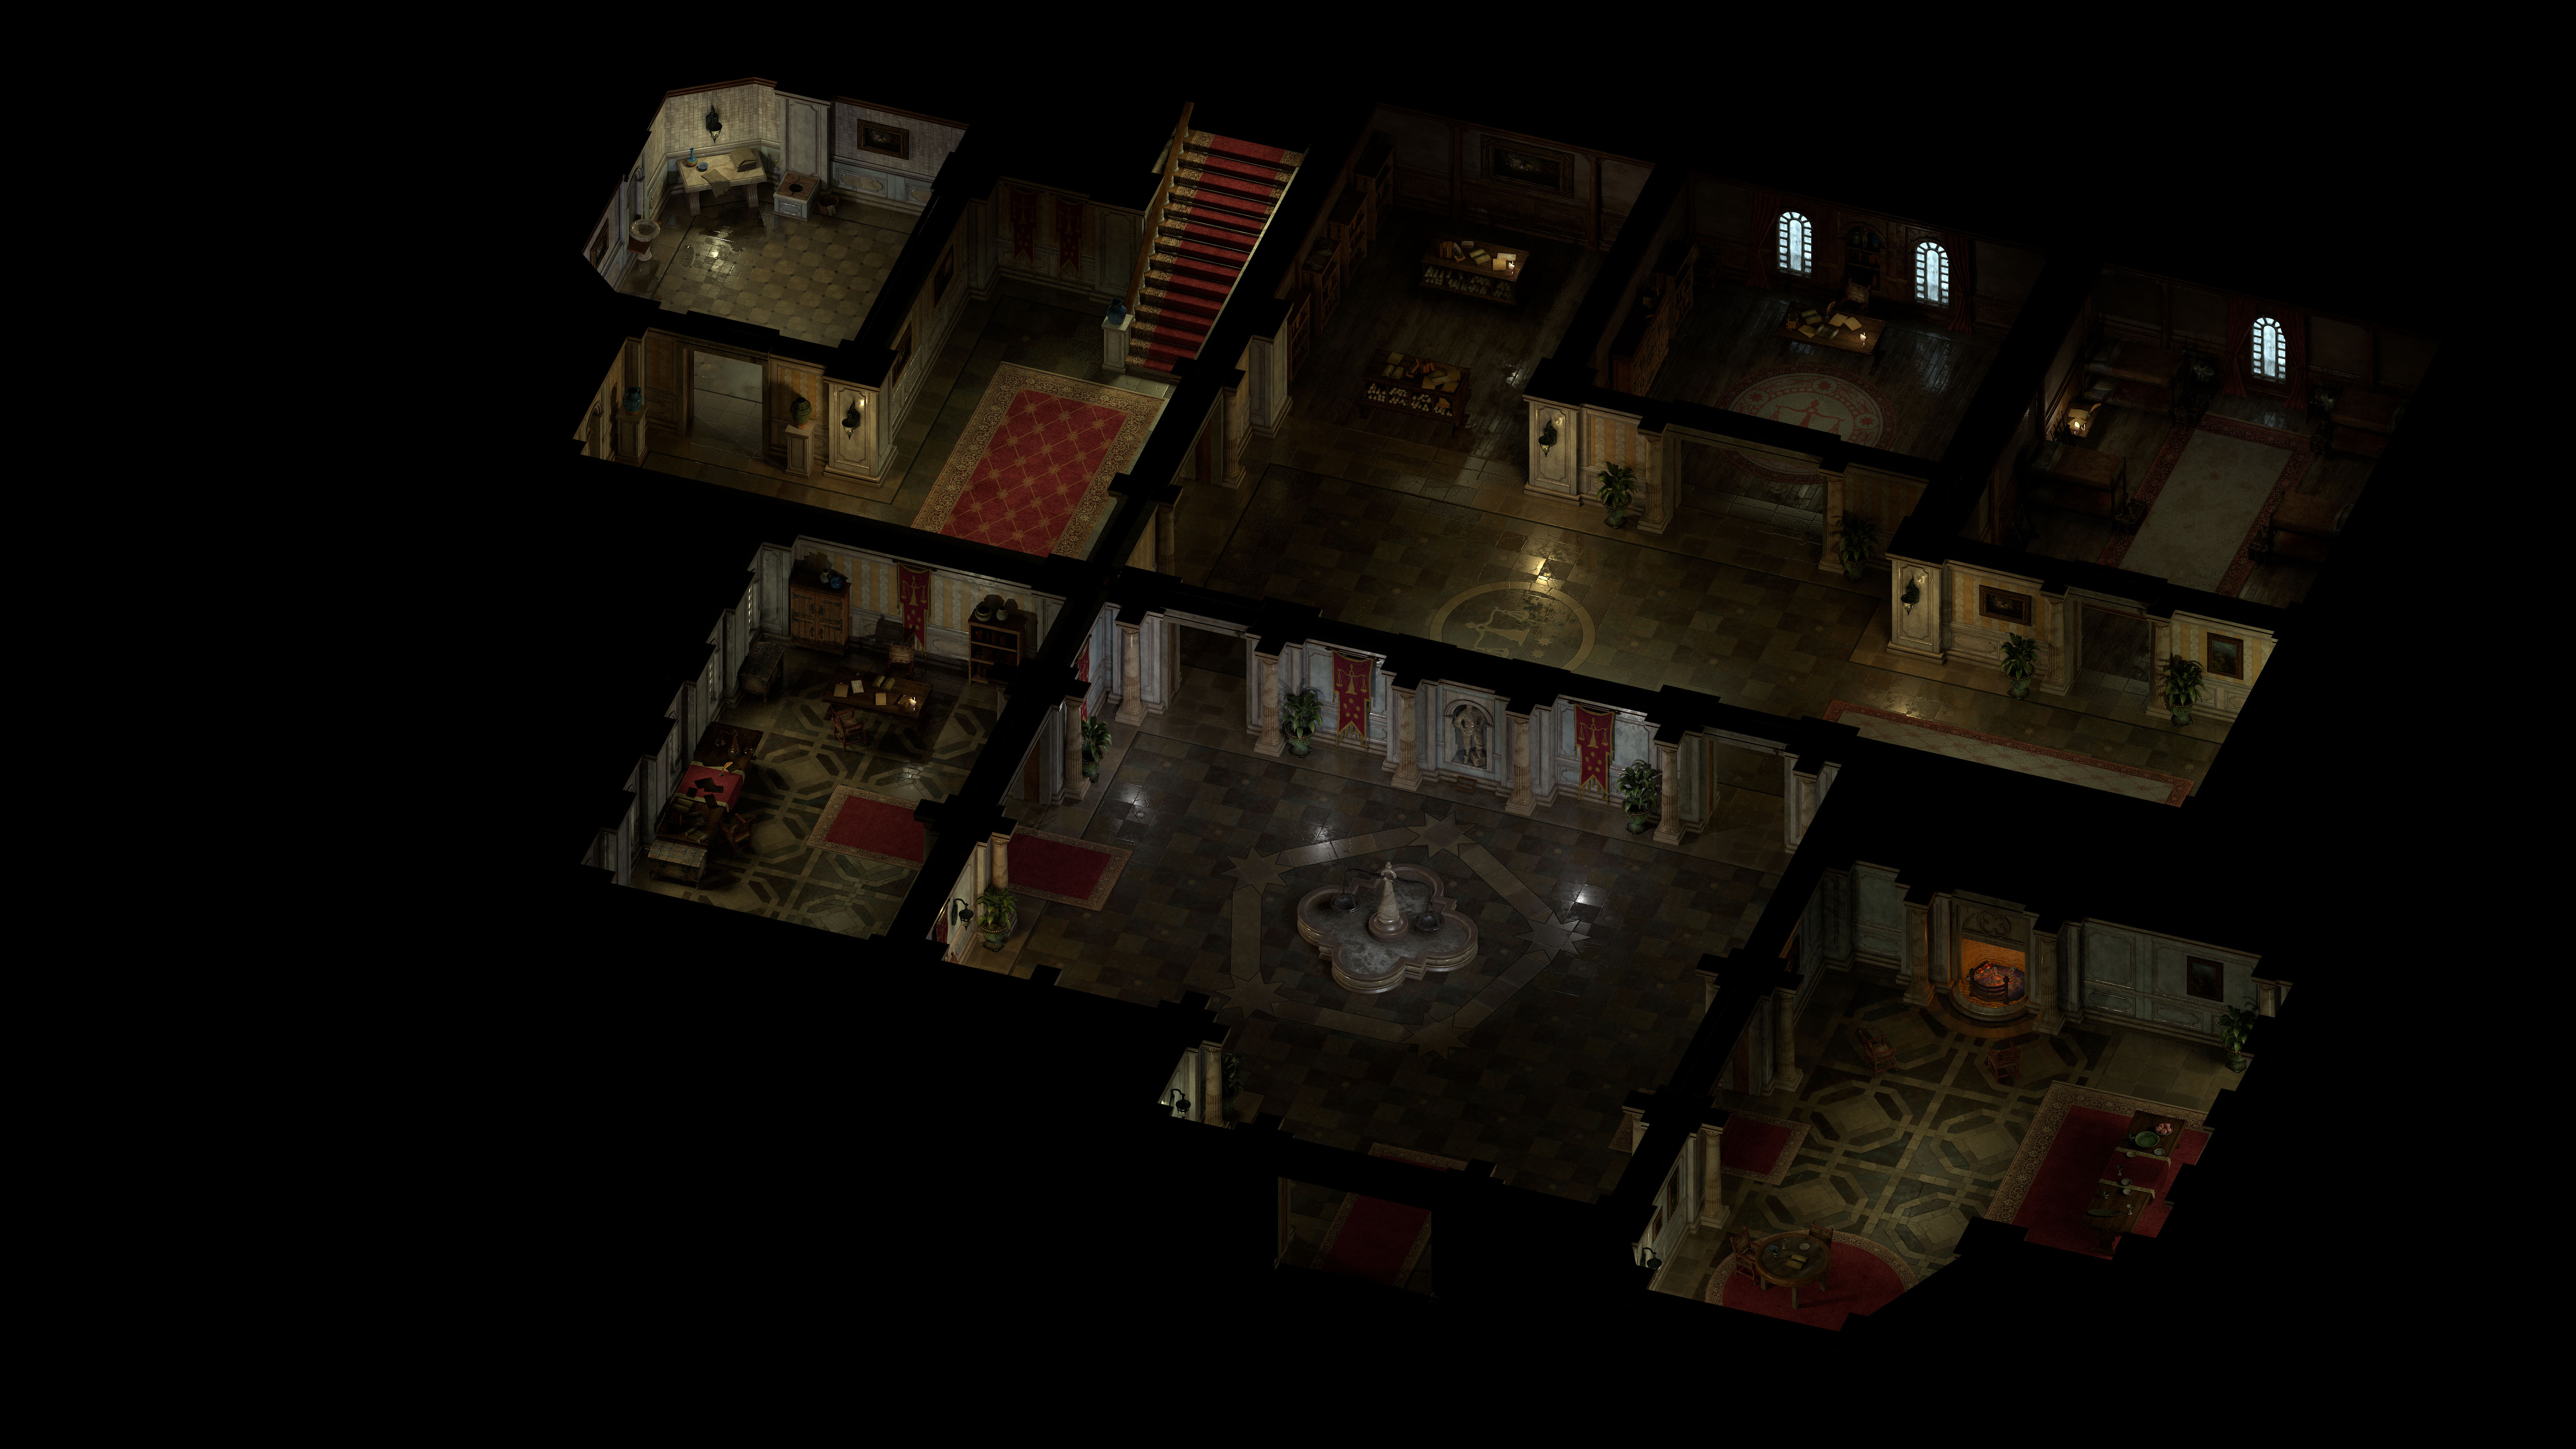
A lot of work goes into making a scene in Pillars of Eternity II: Deadfire, and we'll walk you through from start to completion. The scene we'll be showing is part of the Vailian Trading Company's headquarters. In case you missed it, you can read about the VTC in Update #29!
Blockout
The blockout and design document is the first step to making an environment in Pillars II. An area designer will create a design document and provide all of the following information about an area:
- Summary and background of the area
- How large each scene should be
- Visual descriptions with concepts
- Creatures and NPCs present in the area
- Quests that occur
- Dialogue requests
- Encounters or Scripted Interactions
- Blockouts for each area
- Examinables and loot
- Specific asset requests for Art, VFX or Audio
We'll focus on the art side of things for now. Below is the blockout for the VTC headquarters, created by an Area Designer in Unity:

After the blockouts are approved by leads, we have the concept art team sketch out the general feel and style of the scene if needed. We didn't need a concept for this scene, so it was passed directly to environment art to start work in a 3D software package. On this project we are using Maya by Autodesk.
Environment Art First Pass
Note: Click on an image below to view them at full size.
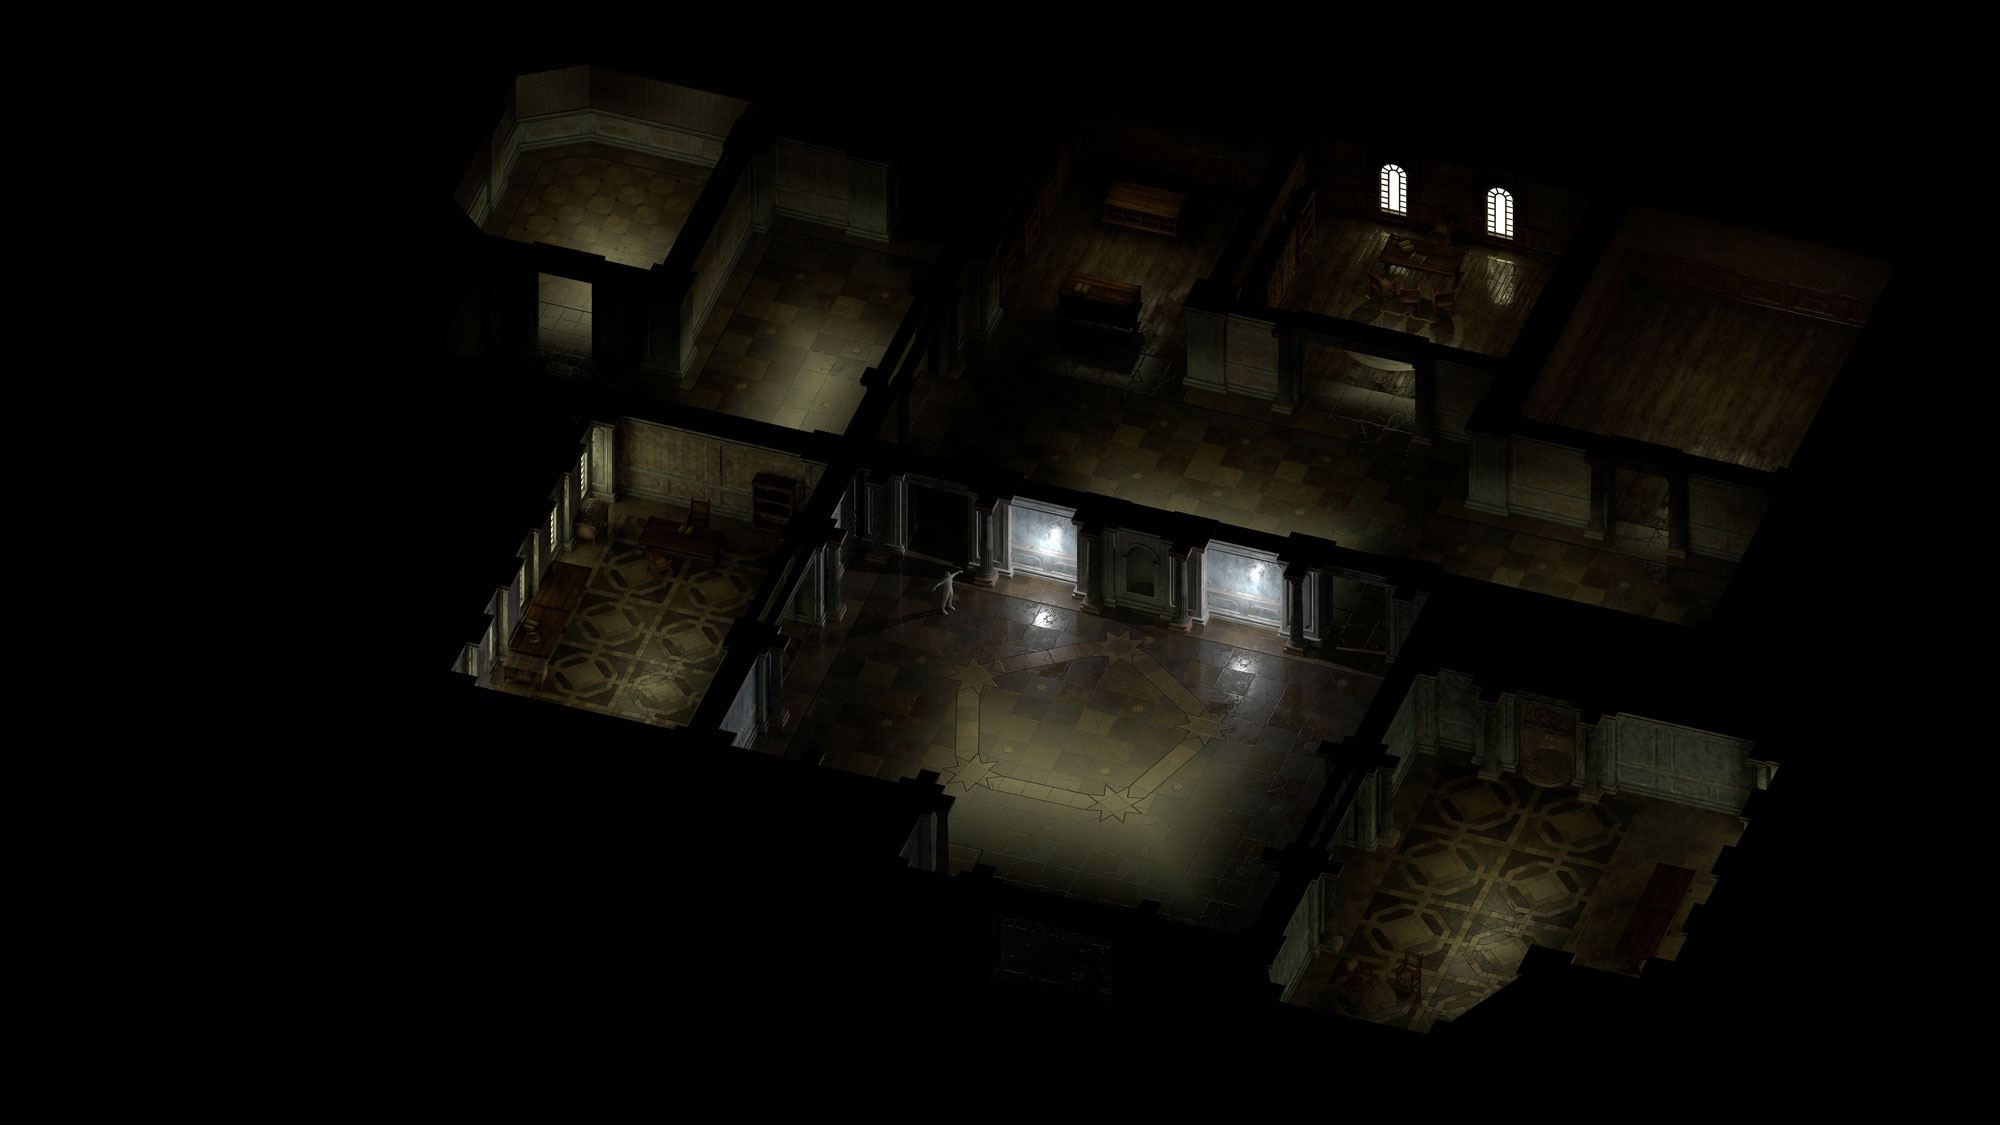
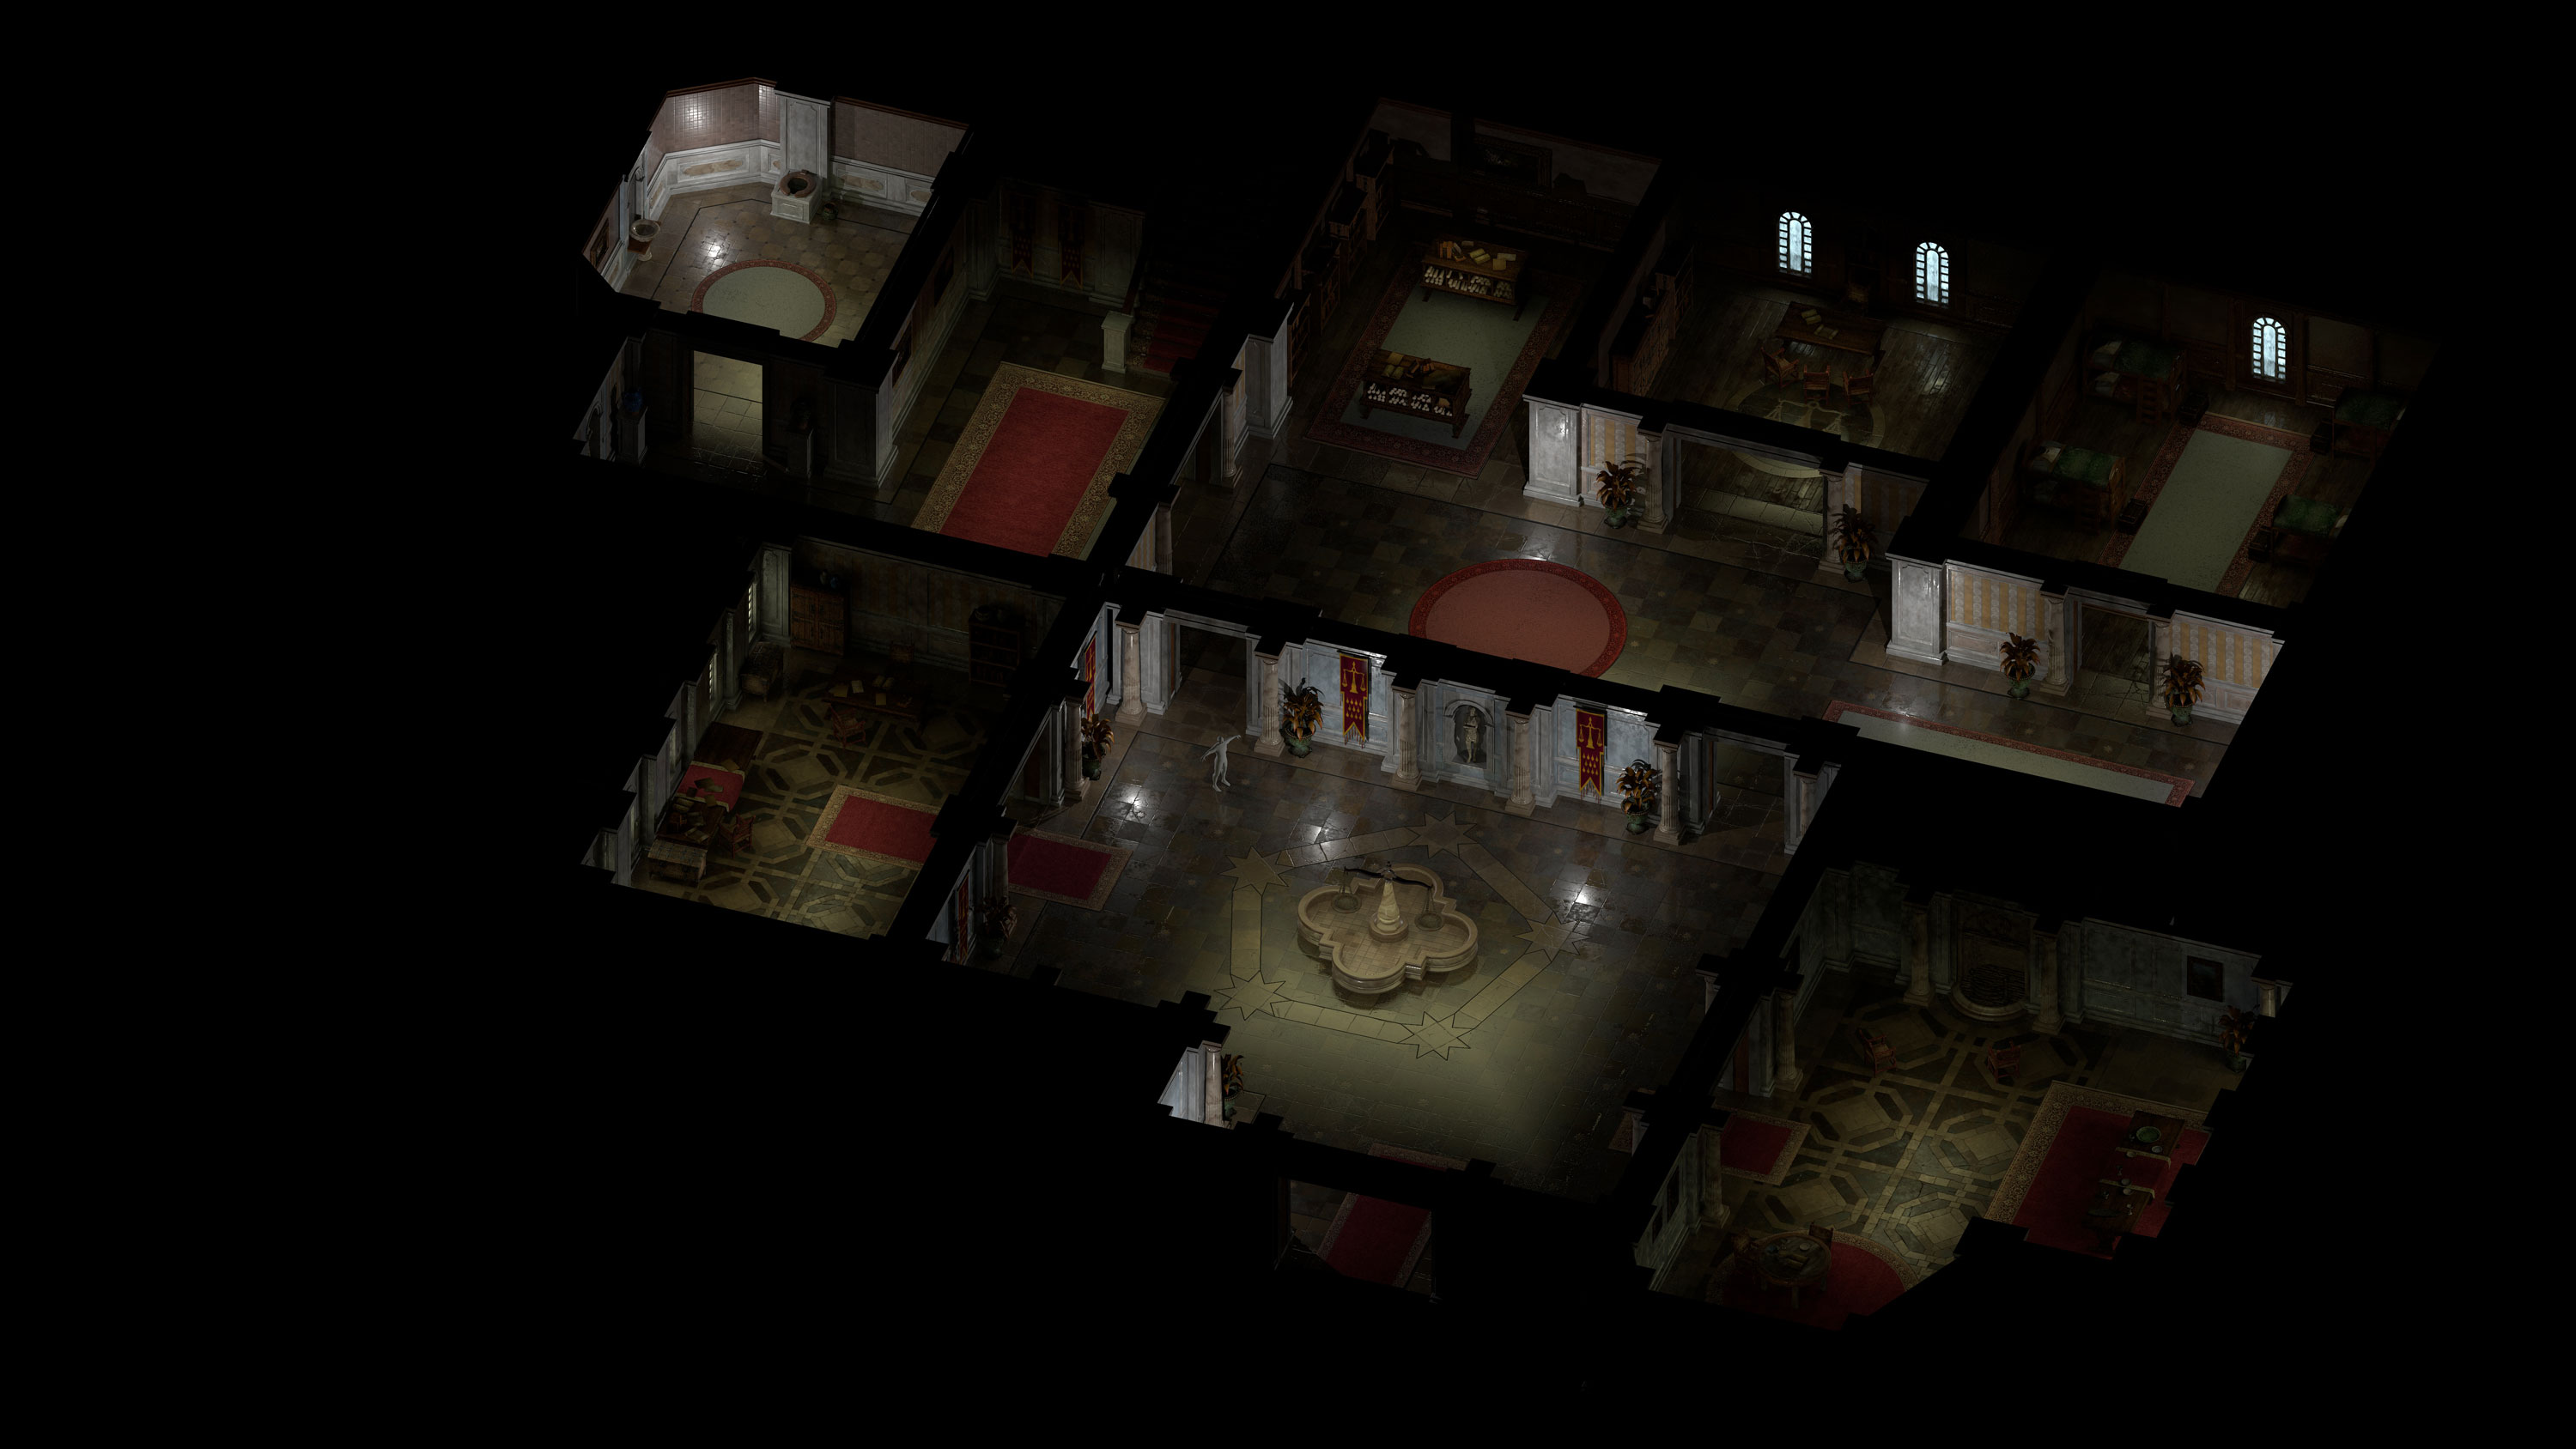
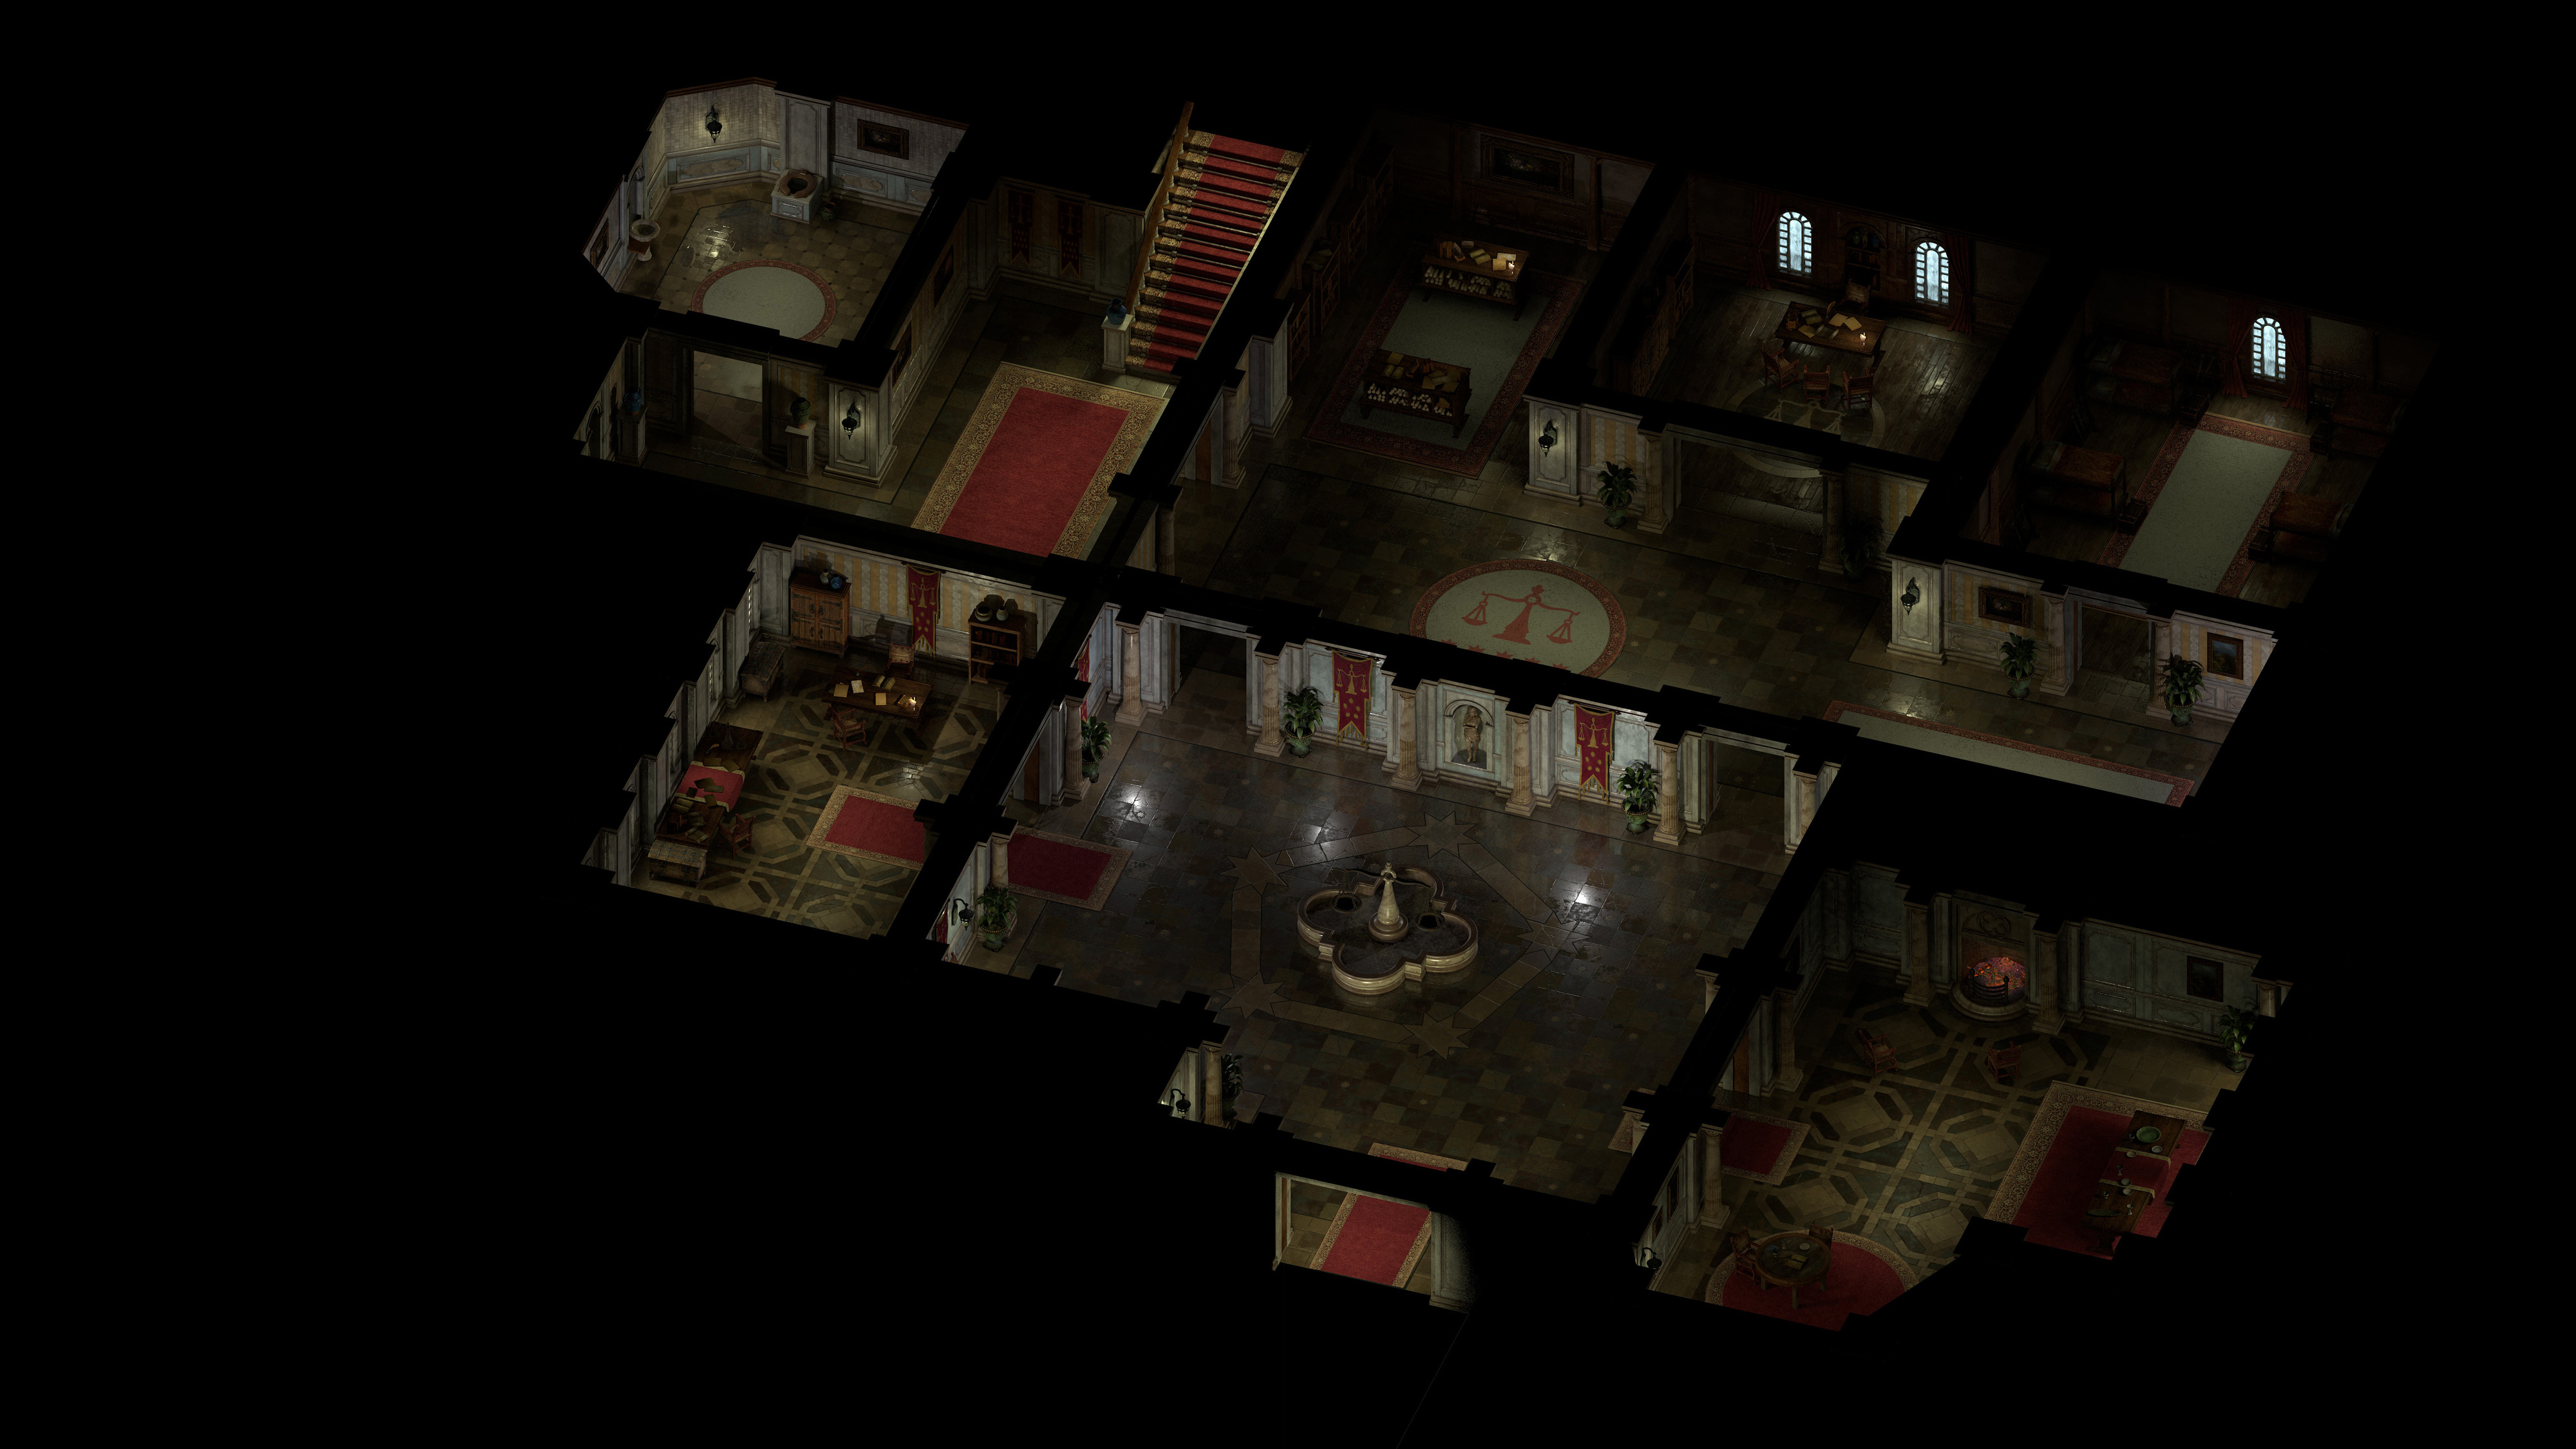
The following are daily renders by our talented Senior Environment Artist, Daniel Keating. Scenes are built in Maya with the blockout as a guide, and are made up of both pre-made and brand new assets. (The pre-made assets were created in Maya and ZBrush by our artists in previous areas and fit with the style and overall feel of other scenes, so they get reused)
Day 1: Focusing on flooring, walls, and some basic lighting:
Day 2: Getting rugs and large props into the area, making adjustments to lighting:
Day 3: Adding medium and small props, adjusting lighting even further:

Day 4: Adjusting props, lighting, addressing any lead feedback that comes up:
At this point in the development process, the first pass is complete. Basic lighting is laid out, all major props are implemented into the scene, and it is now ready for a basic navigation and collision pass. The Maya render itself is ready to be passed on for lead review.
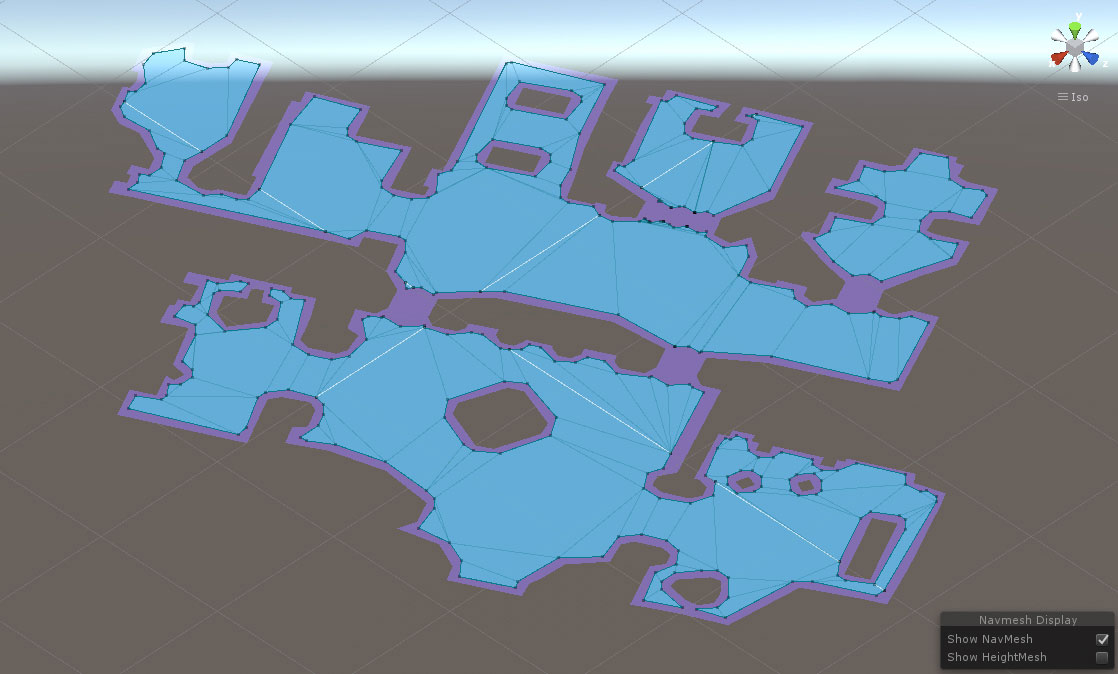
Basic Nav & Collision Pass
Basic navigation is laid out for the level in Unity, giving a sense of where the walkable party area is:
Collision is set up on walls and other objects to prevent the party from passing through solid parts of the environment or props:

While the basic navigation and collision pass is being worked on, the Maya render is being reviewed by leads.
Leads Review

When notes are finished, the environment artist begins work on a second pass of the scene.
Environment Art Second Pass
All of the notes have been taken into consideration, and the artist finishes their second pass:
Once the final master beauty render is approved, we begin a 3D object pass, followed by VFX, audio, and paintovers if necessary.
3D Object Pass & VFX
Our artists add anchor points, water planes for VFX, and any 3D objects requested to the scene.
Anchor points are placed on objects to signify where lighting is needed for this scene:

Additionally, our artists create custom meshes that VFX converts into water planes:

Anchor points in Unity scene:

Area with collision, navigation, and anchor points set up:

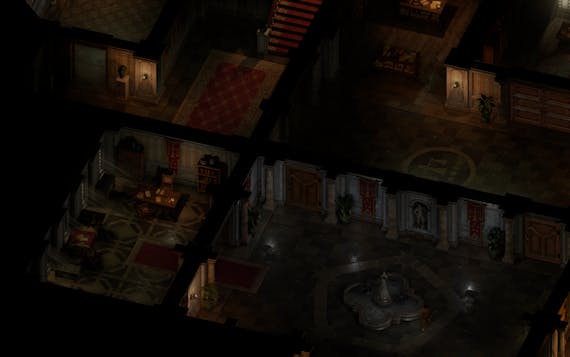
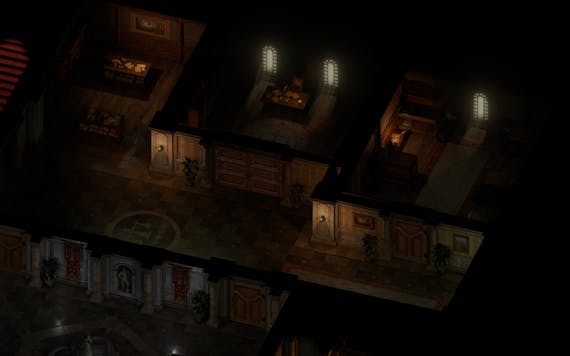
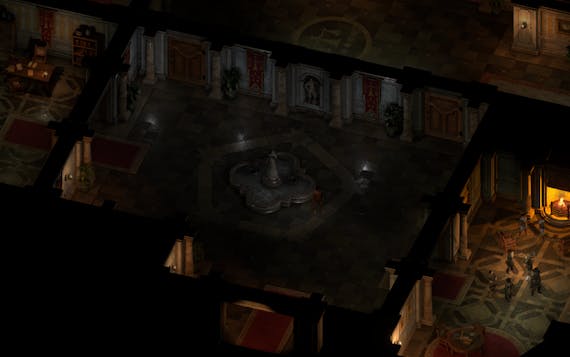
In-Game
After second art passes are completed, the render, VFX and collision are updated in the build so we can have final playthroughs of the area. While this scene looks massive, it appears zoomed in when actually playing the game. Each scene is broken down into a number of 'screens' - When viewing the scene in-game, your view is referred to as one 'screen'. This VTC Headquarters scene is 3x3, meaning that 9 in-game screens will cover the area.
This view in the game represents one screen:
Update #11 went into detail about new graphics and technology in Pillars II, so be sure to check that out if you missed it! In that update, you can learn more about the rendering process, improved shaders, and new technology you'll be able to experience while running around Eora.
Stay tuned for next week's update, when we announce our funding total. Thanks for reading!
